
.webp)
Deep dive into features
Comprehensive guides for every Niibu feature.

Topics


Creating your firts event
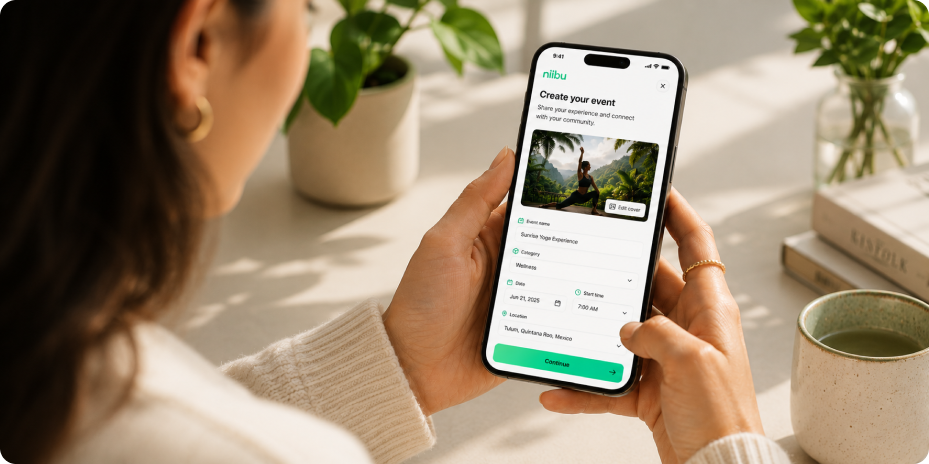
Create and publish your first event on Niibu in just a few steps. Whether you're hosting a wellness experience, workshop, class, or exclusive activity, Niibu gives you the tools to set everything up, customize your event, and start receiving bookings.
1. Add your event details
Start by defining the basics of your experience. Add a clear event name, description, category, and everything attendees need to know before joining.A strong event page helps people understand what you're offering and what makes your experience unique.
2. Set your schedule and availability
Choose when your event will happen by adding the date, start time, duration, and participant capacity.This helps Niibu manage availability and makes sure guests can book the right experience at the right time.
3. Customize your event experience
Personalize your event with images, location details, requirements, and everything included in the experience.Let attendees know what to expect, what they need to bring, and any important information before they arrive.
4. Manage pricing and bookings
Configure your event pricing and allow attendees to reserve their spot directly through Niibu.Track participants, manage registrations, and stay organized from one place..
Tips for creating better events
- Make it clear. Use a title and description that quickly explains the value of your experience.
- Use quality visuals. Great images help your event feel more trustworthy and attractive.
- Set expectations. Include details like duration, location, requirements, and what's included.
- Keep your event updated. Make changes anytime to provide attendees with accurate information.
Next up
After creating your first event, explore how to manage bookings, communicate with attendees, and improve your experiences using Niibu’s event tools.


.webp)
.webp)
.webp)


.svg)